Prerequisites
What you need
-
A Linux based machine that has a Bluetooth HCI interface
In this tutorial we are going to use a Raspberry Pi 4 running Ubuntu 22.04.3 for Raspberry
IMPORTANT NOTE : It is actually MANDATORY to use Ubuntu Server 64bits 22.04.3 LTS (arm64) if implementing Matter support on Raspberry Pi
Any other distro, including Raspbian will not allow you to build required Matter tools
Still this could be achieved on any other Ubuntu 22.04 system that has a BLE interface
-
Enable ssh on your Raspberry Pi (Optional, only if you do not use the RPi's HDMI interface)
You can find a nice guide on how to achieve this according to your RPi usage on this PhoenixNAP Knowledge Base Article
You will also need an SSH client if you are connecting remotely to the Raspberry Pi or Build computer :
- PuTTY
- A good old Linux terminal (For Windows users, WSL can achieve this)
-
A Silicon Labs Wireless Starter Kit which can support Thread developement
Full list is available on this page
Preferred and most economic option being our EFR32 MG24 Devkit
-
gitinstalled on your build machineFor above mentionned systems a simple package manager installation should work
sudo apt install git -
Simplicity Studio to build a Zigbee NCP / OpenThread RCP image
Simplicity Studio can be downloaded here
-
A Flash Utility installed on your machine (either via Simplicity Studio or JLink)
Simplicity comes with Simplicity Commander or Simplicity Studio Flash Programmer
This guide will use Simplicity Commander
Note :
This guide does not cover how to get a Raspberry pi up and running. For that please refer to this guide
This guide does not cover how to perform a Linux installation on a computer. For this please refer to this guide
Getting started
-
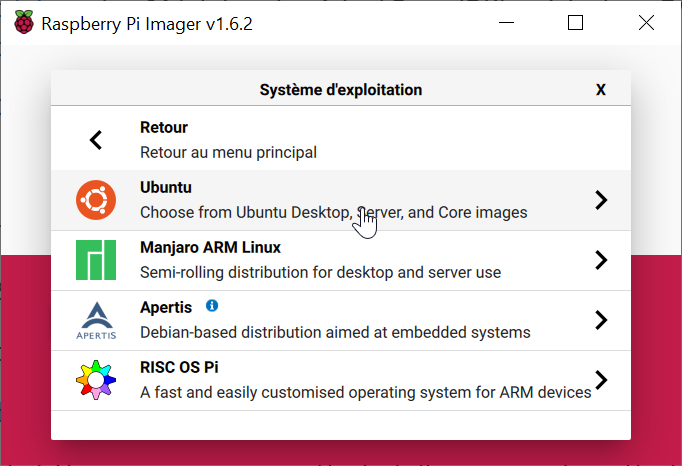
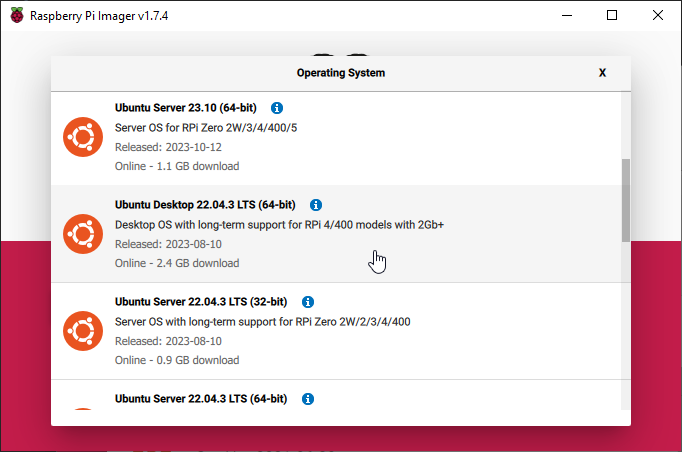
Flash your raspberry pi SD Card using Raspberry Pi Imager (For Raspberry Pi users only)
Remeber, do not flash the regular Raspberry Pi OS but Ubuntu Server 64bits 22.04 LTS3 (arm64) image

Default login and password are : ubuntu ubuntu
You will be asked to change it upon first login
-
Get the IP address of your Raspberry Pi (For SSH users only)
There are a few options here :
- Use your router's management interface
-
You can use a network discovery tool such as Angry IP Scanner (Win, Mac, Linux)
A portable (no install required) executable is provided for Windows users
Just scan your subnet for open ssh ports if you do not have a lot of devices supporting it (port 22)
-
Open a terminal on your Raspberry Pi (either local or via ssh from one of the above mentioned options) :
For example using Linux/WSL ssh terminal command :
ssh ubuntu@192.168.1.18 -
cd to your home directory if not already there :
cd ~/ -
Create a dedicated folder within your /home/
<user>directory for this development purposemkdir ~/border_router_dev cd ~/border_router_dev -
Check that you have git installed
sudo apt update sudo apt install git sudo apt update -
Plug in your Devkit to your Raspberry Pi and check it is enumerated
ls -ail /dev/ttyACM*
450 crw-rw-rw- 1 root dialout 166, 0 Nov 29 19:14 /dev/ttyACM0
GCC Alternatives
Using the Ubuntu 22.04.3 LTS image we end up using GCC v11. However, Silicon Labs is now recommending switching to GCC v12 for its software.
To get everything aligned, we will make GCC v12 available on the RPi using update-alternatives utility:
- First, make sure you are not already using gcc 12 by issuing
gcc -v - Then install gcc v12 by calling
sudo apt install gcc-12 g++-12 -
Once both are available, we need to make use of the
update-alternativestool As explained here :Symbolic links
ccandc++are installed by default. We will install symbol links forgccandg++, then linkccandc++togcc andg++respectively. (Note that the10,20and30options are the priorities for each alternative, where a bigger number is a higher priority.)Install alternatives :
sudo update-alternatives --install /usr/bin/gcc gcc /usr/bin/gcc-11 10
sudo update-alternatives --install /usr/bin/gcc gcc /usr/bin/gcc-12 20

sudo update-alternatives --install /usr/bin/g++ g++ /usr/bin/g++-11 10
sudo update-alternatives --install /usr/bin/g++ g++ /usr/bin/g++-12 20

sudo update-alternatives --install /usr/bin/cc cc /usr/bin/gcc 30
sudo update-alternatives --set cc /usr/bin/gcc

sudo update-alternatives --install /usr/bin/c++ c++ /usr/bin/g++ 30
sudo update-alternatives --set c++ /usr/bin/g++
By default, gcc and g++ v12 will be used, but if required, you can switch between each using : Configure alternatives :
sudo update-alternatives --config gcc
sudo update-alternatives --config g++
Prompt will be as follows :
There are 2 choices for the alternative gcc (providing /usr/bin/gcc).

  Selection    Path             Priority   Status
------------------------------------------------------------
* 0            /usr/bin/gcc-12   20        auto mode
  1            /usr/bin/gcc-11   10        manual mode
  2            /usr/bin/gcc-12   20        manual mode

Press <enter> to keep the current choice[*], or type selection number:
Calling
gcc-vshould now show v12.x.x
Troubleshoot
If you precisely follow all of the previous steps, you should have a ready to use Linux envirnment
Still, if you run into some of these issues:
-
apt operations fails because of
E: Could not get lock /var/lib/dpkg/lockFollow method 2 of this knowledge article
-
ssh login fails due to existing known_host
This is due to the fact that you already had connected using ssh to the host but might have flashed a new linux distro on it
As per
sshshell feedback, usessh-keygen -f "/home/brian/.ssh/known_hosts" -R "<your_target_ip>" -
ssh login fails because of "connection refused" make sure that you have installed ssh
sudo apt install openssh-serverand enabled itsudo systemctl enable sshandsudo systemctl start ssh